Showing posts with label arts and crafts. Show all posts

1.21.2016

valentine's day cards for kids by kids

Valentine's Day is my favorite holiday! Spare me the whining about Hallmark holidays and commercialization and pass the chocolate and glitter and let's get to crafting. Having kids on Valentine's Day makes it even more fun because, unlike myself growing up, Ethan actually has friends and we get to make Valentine's to hand out around town. (I have a real fear about my child asking me for store-bought, boxed V-Day cards one day so I'm milking this joint crafting thing as long as he will let me.)

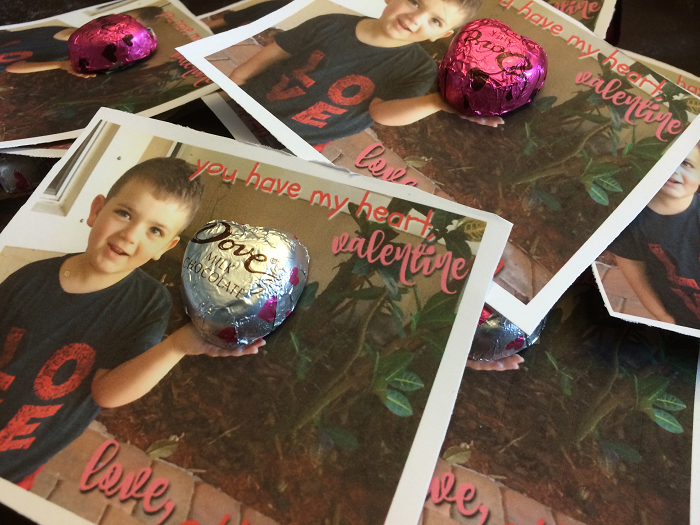
This year, we snapped a quick picture:


LOVE tee by The Blue Envelope

From there, we added a little text and printed four images per page, each sized to 3x5 and printed onto cardstock. Ethan helped cut the cards out and then we got to work attaching the little chocolate hearts.

Okay, we may have eaten a few. But we had enough left to finish this project, which means it was a success all around.

Totally cute, right?! Valentine's Day Pinterest-mania, here we come.

 photo signature_zps5tftxxmn.png

1.20.2016

how would you change the world? a watercolor project for kids

Lately, at four and a half, Ethan is really into asking these big, philosophical questions. Sometimes I'm not ready for them. Especially at 3 a.m. when he wanders into my room wondering about the Trojan War, or inquiring if we can work together to end homelessness. Mostly, though, I'm captivated by this age and the wonder and intellect that his little brain can conjure up at any given moment. There has been such a burst between four and four and a half and I am loving just talking to him. (Which is good, because he never actually shuts up.)

Anyway, we made this watercolor world project. As we worked (which took two days due to the time our world took to dry), Ethan had time to ponder the question: how would you change the world? Given his usual oddly mature level of insight, I was interested to hear what he had to say. His actual response, of course, had me cracking up:
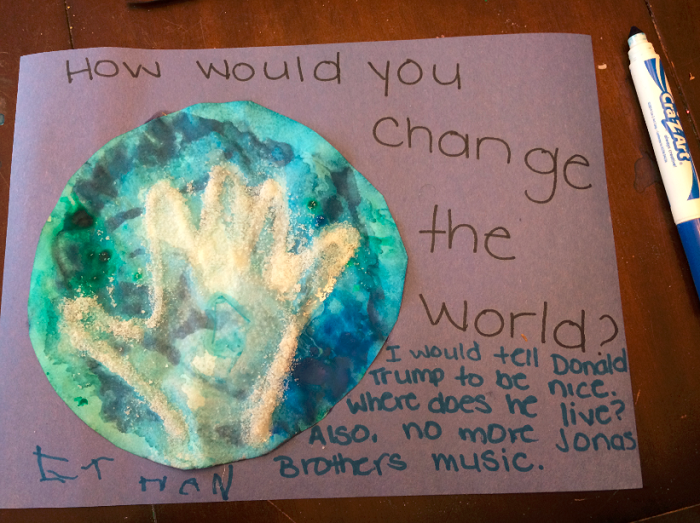
Kids. They say the darndest (and truest) things.

Here's a little more detail into this fun little craft, which looks absolutely gorgeous when hanging on the wall -- especially near a window.

You'll need:
- White paper cut into a circular shape
- Construction paper
- Salt
- White glue
- Liquid watercolors
- Dropper

First things first: get your liquid watercolors ready. Blue and green, of course.

Next, trace your child's hand onto construction paper (and cut out).

Once the traced handprint is cut out, glue it onto the round, white sheet of paper. Even though the watercolors will soak through, the paper will lap it up enough to keep the handprint a lighter shade of blue and green than the rest of the world.

Using droppers is always fun, so Ethan had a blast. He just kept dropping sploshes of green and blue until the little round Earth was completely soaked through. (It needed to dry overnight.)

Once the Earth was dry, peel off the traced handprint. Using white glue, outline the handprint and then drop salt along the glue. (Ethan had fun with this. Some of the salt got elsewhere. Things are more fun when they aren't perfect, right?)

My favorite part, of course, is gluing on the world and finally getting to hear the answer to the "how would you change the world?" question. This one was a beautiful addition to our dining room wall -- and it sparkles so beautifully when the sun hits it.

 photo signature_zps5tftxxmn.png

9.05.2015

fish eyes by lois ehlert activity

One of the books we read in tot school during our ocean theme was Fish Eyes by Lois Ehlert. This is a fun, imaginative story that was so much fun to read over and over again.

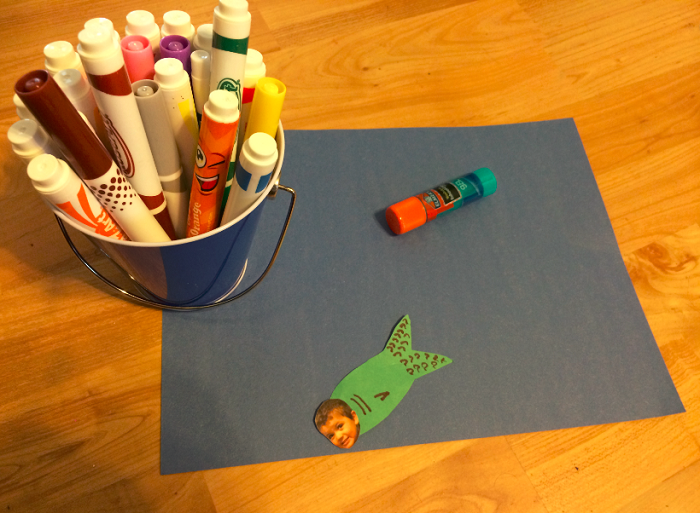
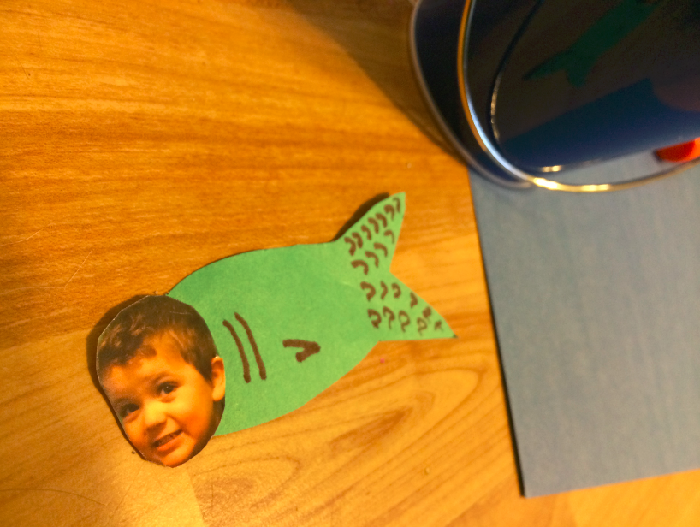
For this activity, Ethan closed his eyes and made a wish and turned into a beautiful fish! Well, sort of. Cutting out his face from a photo and gluing onto the body of a fish, Ethan got to work on his ocean and the sorts of things he would see if he was a fish.

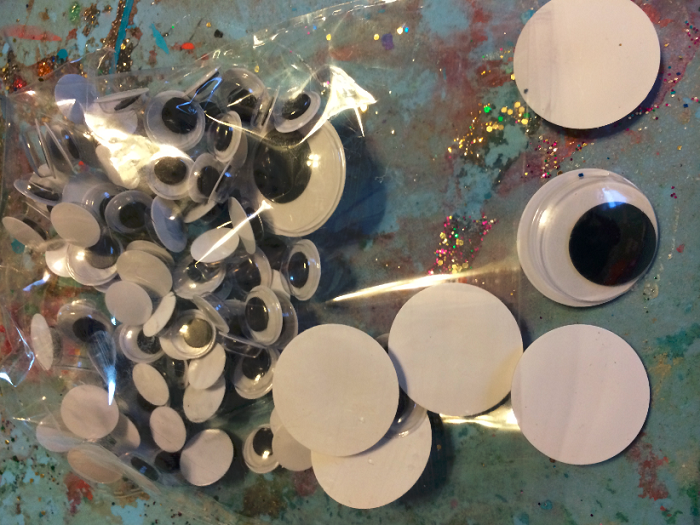
For this story, googly eyes were a must!

I gave Ethan free reign over the art supplies -- crayons, paint, glue, glitter, sequins, oh my! -- but he insisted a brown marker would do the trick just fine. The end result was so perfectly him!


 photo signature_zps5tftxxmn.png

9.03.2015

sea slime

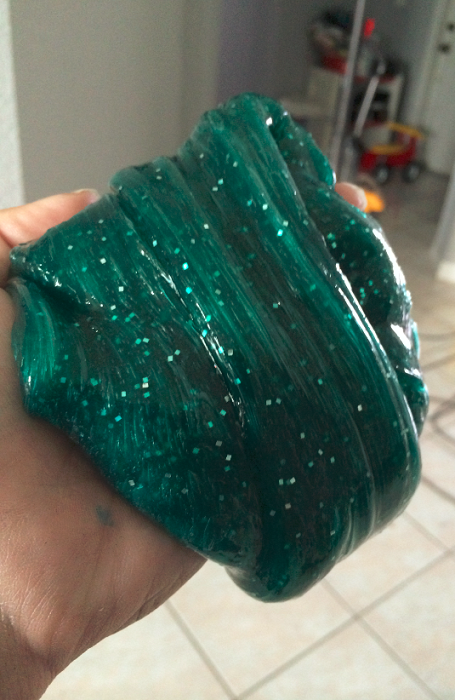
We are no strangers to slime, ooze, goop, playdoughs...you name it and it's probably permanently ingrained into our grout. Still, there was something so mesmerizing to Ethan about this sea slime that he hasn't stopped playing with it since we introduced it as part of our ocean tot school theme. The first words out of his mouth every morning have been "can I play with my sea slime?" and I have to pry him away after a couple of hours of pure entertainment. I don't blame him -- the stuff is pretty cool. Using clear glue instead of the white school glue we typically use to make slime really made a world of difference in the look and feel of our sea slime.

I introduced this activity as a clump of slime in a sensory bin with some fish and ocean creature figurines I found at the dollar store (I believe the bulk of them are from Finding Nemo).

Ethan has enjoyed hours of uninterrupted free sea slime play and we've also used it as a great learning tool to discuss waves, the parts of a wave and ocean layers.

Sea slime is pretty easy to make. Add one bottle of clear school glue to a bowl, squeeze in a couple drops of food coloring, combine and then stir in a little less than 1/2c liquid starch. As you stir, your slime will start to form. Once it gets pretty clumpy, I like to pick it up and mash it around in my hands until it reaches the desired consistency (sometimes you have to squeeze out some of the excess moisture).

To make this particular shade of teal, I used one bottle of clear glue mixed with some silver glitter, a few drops of blue food coloring and then mixed in the liquid starch. I set that batch aside and made a second batch using green food coloring. Once both slimes were made, I just mashed them together until they combined to form a beautiful teal color. The green and blue highlights looked extra pretty in the light, too!


 photo signature_zps5tftxxmn.png

12.11.2013

abstract christmas tree sponge & scrubber craft

Ethan brought me a sponge from our tot school supply drawers and asked me to cut it into a tree, because we did this frequently over Halloween and he thought it was super fun making a stamp from a sponge. As I was cutting, he went and got a scrubber and said he wanted to paint with it, too. No big deal, that's what it's there for.

As he stamped the scrubber over the green trees, we both noticed how much it looked like lights. Ethan was so excited and went to work making sure every last tree he stamped had lights, too. Yellow ones, he insisted.

I thought the end result was truly beautiful, and a wonderful holiday keepsake for little ones to make! After our initial tree painting, Ethan went back and made a couple more for friends and family members. The accidental crafts and projects always end up being my favorites!

12.08.2011

this air is blessed, you share with me


If there's something I've learned about being a parent during the holidays, it's that there can never be enough handprints or footprints. This morning, Ethan and I met our playgroup at a local ceramics studio. It was two hours of stamping painted baby hands and feet onto ornaments, cookie platters and other holiday decorations. And the cute? Oh, the cute was overwhelming!

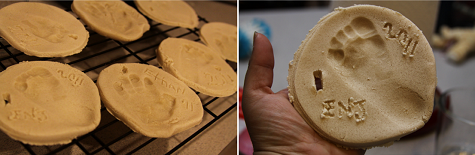
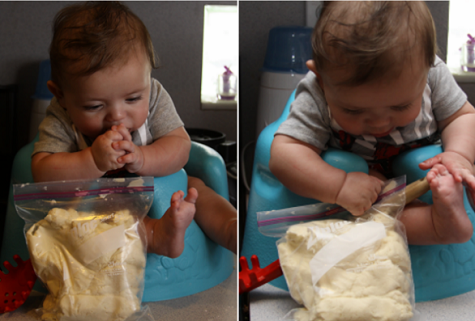
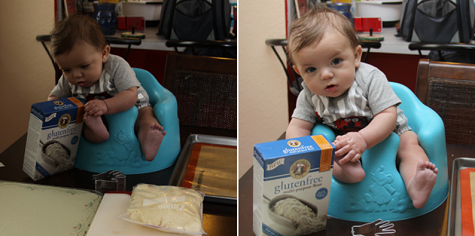
Just yesterday, Ethan and I stole a fantastic idea from one of my favorite bloggers, Natalie at Growing Up A NJ Wife, and made salt dough ornaments. These ornaments? Yep, you guessed it: imprinted with the cutest little baby hands and feet!

We made our salt dough ornaments right before our bedtime routine began. Ethan used his last bit of energy to curiously watch his feet and hands press into the crumbly dough and, after he was cleaned up, he was out. I couldn't wait to show him his ornaments hanging on our tree when he woke up this morning. The perfect touch to a perfect tree? I'm thinking so.

11.26.2011

turkey cookies


Okay, making these "hand turkey" sugar cookies was one of the pre-Thanksgiving activities I had planned before Ethan became ill. Seeing as how he's been feeling so much better, I decided that belated hand turkey cookies were just as much fun as prompt hand turkey cookies.

A family friend of ours (shout-out to Miss Shirley!) had sent us a gift certificate to Chinaberry when Ethan was born. After careful deliberation, I had a cookie cutter made of Ethan's handprint! I knew right off the bat I just had to make hand turkey cookies with Ethan for Thanksgiving and, as long as I let him play with the spaghetti scooper, Ethan was up for the task!


So, our hand turkey cookies came a bit late but Ethan is pretty much the cutest culinary assistant on the planet and that has to excuse our tardiness, right?

9.23.2011

all of the beautiful colors are very, very meaningful


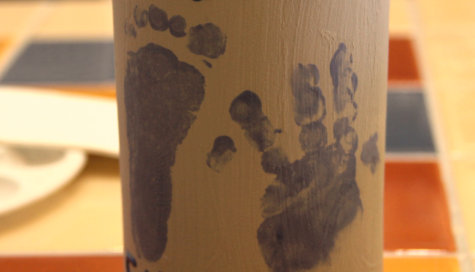
Grandma Edie (that'd be my mom) and I brought Ethan over to our local ceramics painting studio to make something special for my husband. He just accepted an offer for a new job with a company he's super excited about working for so Ethan and I wanted to make him something special for his new desk.

After far too much deliberation, we decided on a cup to hold his pens and pencils. After even more deliberation, we decided on a blue color scheme. Apparently these are difficult and vital decisions to make. Who knew?

The studio employee helped us sponge the paint onto one of Ethan's hands and one of his feet and then press them onto the piece. It was quick, simple and surprisingly not too messy. Grandma Edie fed Ethan a bottle while I tried my best to write a quick message along with Ethan's name and the date in paint. I'm not an artist and that is an understatement.

Ethan was intrigued by the paint on his feet and watched intently as his foot was stamped onto the ceramic piece. As for the handprint? Well, that was a bit more challenging. Ethan enjoyed clenching his fist and squishing the paint around in between his fingers more than he did stamping it onto the pencil cup. Eventually we were able to get a perfect handprint and get Ethan all washed off in the studio sink! Because we're terrible at surprises (okay, okay, that blame falls all too entirely on me), we already showed my husband photos from our ceramic painting adventure. The pencil cup won't even be ready for pick-up for 10 days and yet it's already his favorite thing ever.


Vote for me @ Top Mommy Blogs - Mom Blog Directory
Related Posts Plugin for WordPress, Blogger...